[subscribe_to_unlock_form]
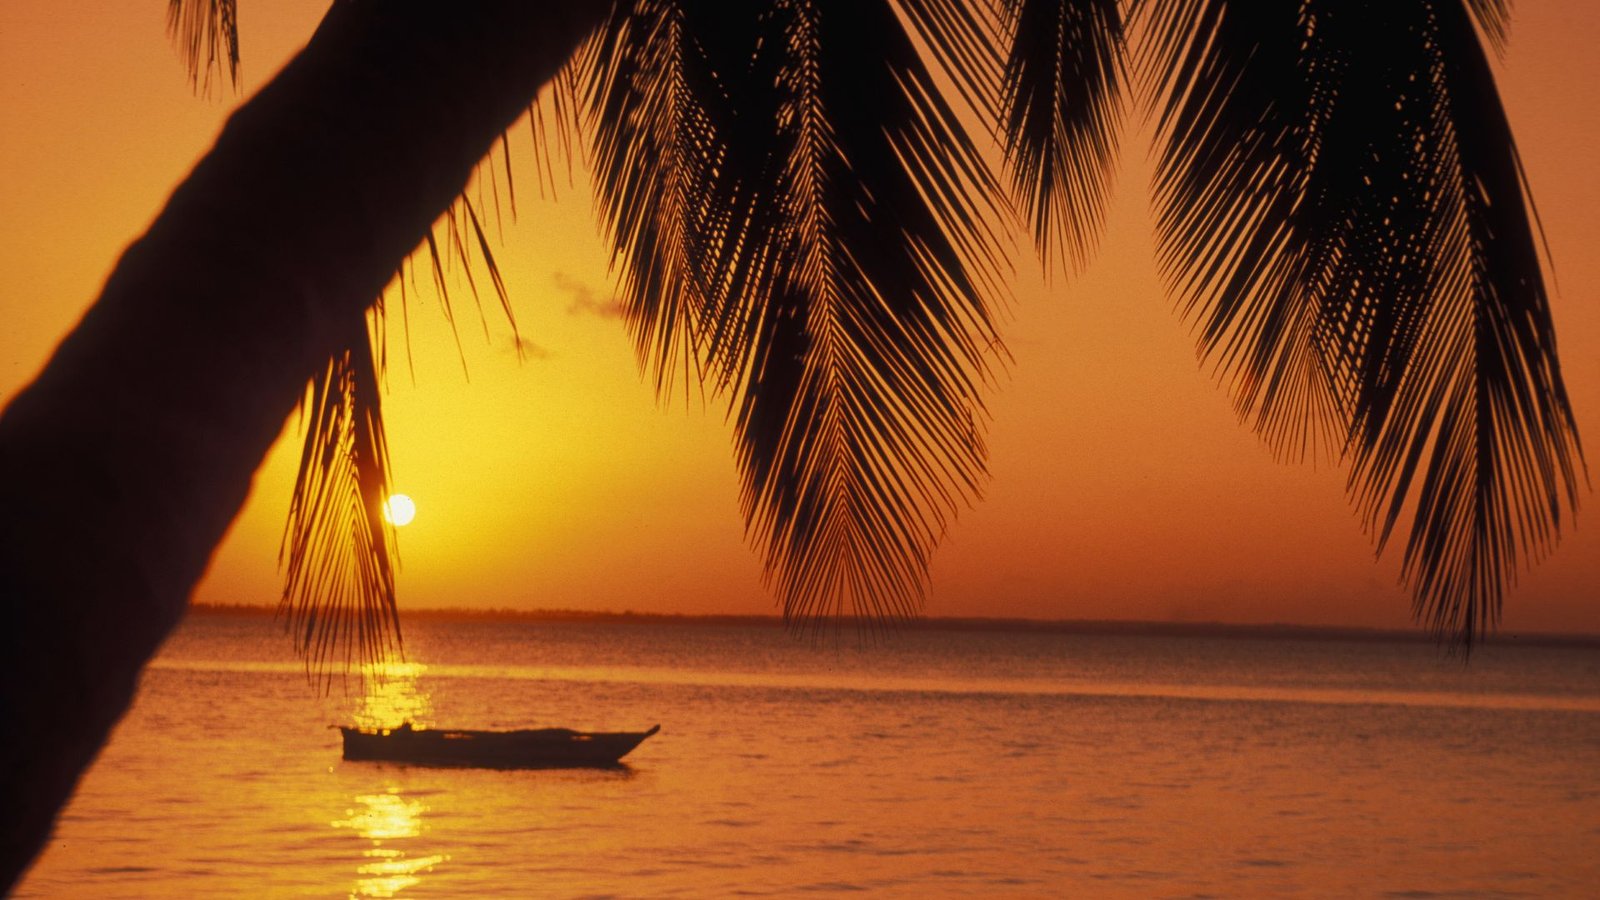
Paje, on the east coast of Zanzibar, is a dream destination for photographers. With its powder-white sands, turquoise shallows and swaying palms, every dawn and dusk brings a new palette of colors. In this guide you’ll find the finest viewpoints in Paje and actionable tips to make your sunrise and sunset shots stand out—plus SEO best practices to boost your blog’s visibility.
Why Photograph Sunrises and Sunsets in Paje?
- Soft golden light: The sun’s low angle over the Indian Ocean bathes the scene in warm hues.
- Mirror-like reflections: At high tide the calm lagoon reflects sky colors almost perfectly.
- Rich compositions: From lone palm silhouettes to traditional dhows, every frame tells a story.
Preparation and Planning
Know the Golden Hours
Sunrise: Roughly 30 minutes before to 30 minutes after first light (around 5:45–6:30 AM, GMT+3). Sunset: 30 minutes before until 30 minutes after the sun dips below the horizon (around 6:15–7:00 PM, GMT+3).Check the Weather
- Clear skies yield glowing oranges and pinks.
- Scattered clouds add drama and texture.
- Apps: PhotoPills (sun/moon planner), Windy (cloud cover), AccuWeather.
Essential Gear
- Camera: Mirrorless or DSLR with strong low-light ISO performance.
- Lenses:
- Ultra-wide (14–24 mm) for sweeping vistas
- Telephoto (70–200 mm) to isolate distant details
- Sturdy tripod: For tack-sharp long exposures.
- Filters:
- Graduated ND to balance sky and foreground
- Polarizer to deepen blues and cut glare
- Extras: Remote shutter release, extra batteries, lens cloth.

Top Photographic Spots in Paje
1. Beach in Front of Cristal Resort Zanzibar
Why It Works
Direct beach access, well-maintained palms forming natural frames.
Framing Tips
- Center the horizon line for a mirror effect.
- Apply the rule of thirds: place the sun at an intersection point for dynamic balance.
2. Traditional Dhow Boats at Shore
Why It Works
Classic Zanzibar imagery—silhouetted hulls make compelling focal points.
Camera Settings
- Shoot in burst mode against backlight to nail sharp silhouettes.
- Dial in –1 EV exposure compensation to deepen warm tones.
3. Sand Dune Overlooking Chwaka Bay
Why It Works
An elevated vantage point reveals sweeping panoramas of bay and sky.
Lighting Advice
- Avoid the hard midday sun (10 AM–4 PM).
- Use long shadows at sunset to sculpt textures in the sand.
4. Floating Jetty at Low Tide
Why It Works
Weathered planks lead the eye toward the horizon, creating strong perspective lines.
Recommended Settings
- ISO 100–200, aperture f/8–f/11 for edge-to-edge sharpness.
- Use exposures of 1/60 s or longer on a tripod to smooth water motion.
5. Palm-Lined Path East of Paje Village
Why It Works
Rows of palms form a natural tunnel framing the rising or setting sun.
Composition Tricks
- Utilize converging lines of the path to draw the viewer in.
- Frame a portion of sky through silhouetted leaves in the foreground.
Advanced Techniques
Exposure Bracketing & HDR
Trigger three bracketed exposures (–2 EV, 0 EV, +2 EV) and blend in Lightroom or Photomatix for extended dynamic range.
Light Painting
During long exposures, use a warm LED or flashlight to selectively illuminate palms or boats, adding unique accents.
Vertical Panoramas
Shoot 3–5 overlapping vertical frames, then stitch in Photoshop for ultra-high-resolution compositions.
[/subscribe_to_unlock_form]
[/subscribe_to_unlock_form]


